
Webflow page speed optimization is essential for any business looking to improve user experience, increase SEO rankings, and effectively engage its audience.
- Improve User Experience: Fast loading times lead to a smooth, enjoyable browsing experience.
- Boost SEO: Google ranks faster sites higher, which can increase visibility and traffic.
- Reduce Bounce Rates: Slow websites can drive users away; speed can help keep them on your site.
- Improve Conversion Rates: Visitors are more likely to convert on faster, more responsive sites.
Having a slow website can be detrimental to your business. Numerous studies show that site speed directly impacts user engagement and satisfaction, making it a crucial factor in your digital strategy.
My name is Alexander Palmiere, and as the Founder of Refresh Digital Strategy, I've optimized over 200 Webflow sites, helping businesses achieve higher speed and performance. Stay with us as we explore detailed techniques to make your Webflow site faster than ever.
Webflow page speed optimization terms explained:
Why Optimize Your Webflow Page Speed?
Optimizing your Webflow page speed is crucial for several reasons. Let's break it down:
User Satisfaction
Fast websites keep users happy. When a page loads quickly, users can steer smoothly and find what they need without frustration. Google's research shows that 53% of mobile users leave a site that takes longer than three seconds to load. Quick load times signal reliability and respect for the user's time.
Bounce Rates
A slow site can drive visitors away before they even see your content. High bounce rates can hurt your site's reputation and effectiveness. According to a study, pages that load within two seconds have a bounce rate of just 9%, compared to 38% for pages taking five seconds or more. Speed is key to keeping visitors engaged and exploring further.
Search Engine Rankings
Google and other search engines prefer fast-loading sites. They use speed as a ranking factor. Faster sites tend to rank higher on search engine results pages (SERPs), leading to increased visibility and organic traffic. By optimizing your Webflow site, you improve your chances of appearing at the top of search results.
Conversion Rates
Speed also affects conversion rates. A one-second delay can reduce conversions by 7%. Fast websites provide a seamless experience, making it easier for users to complete actions like purchases or sign-ups. The quicker the site, the more likely users are to convert.
In short, optimizing your Webflow page speed improves user satisfaction, reduces bounce rates, boosts search engine rankings, and increases conversion rates. It's not just about speed—it's about creating a better overall experience for your visitors. Up next, we'll dive into actionable steps to optimize your Webflow site for speed.
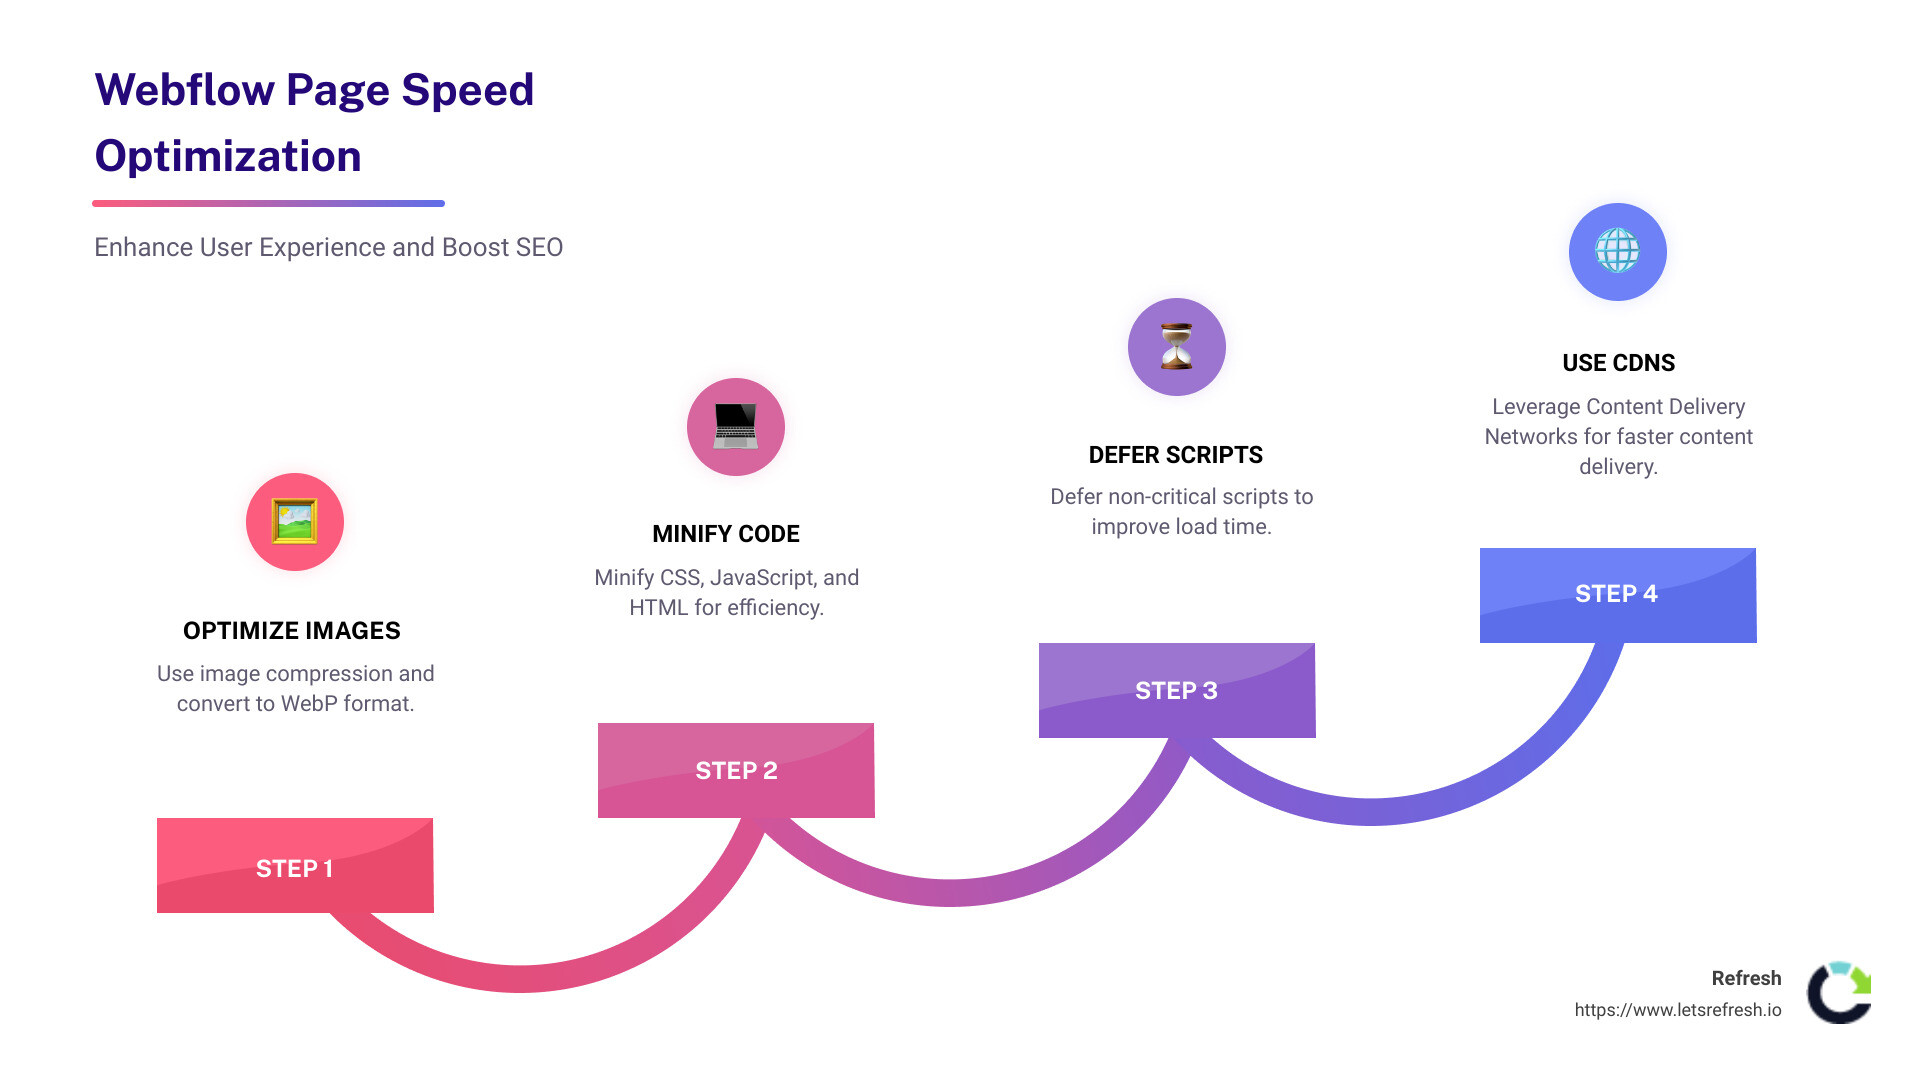
7 Actionable Steps for Webflow Page Speed Optimization
Improving your Webflow site's speed can seem daunting, but with these actionable steps, you can improve performance without sacrificing quality. Let's get started!
1. Optimize Images
Images can be a major drag on page speed if not handled properly. Use image compression tools to reduce file sizes without losing quality. Consider converting images to the WebP format, which provides superior compression for both lossy and lossless images.
Implement lazy loading to ensure images are only loaded when they enter the viewport, reducing initial page load times.
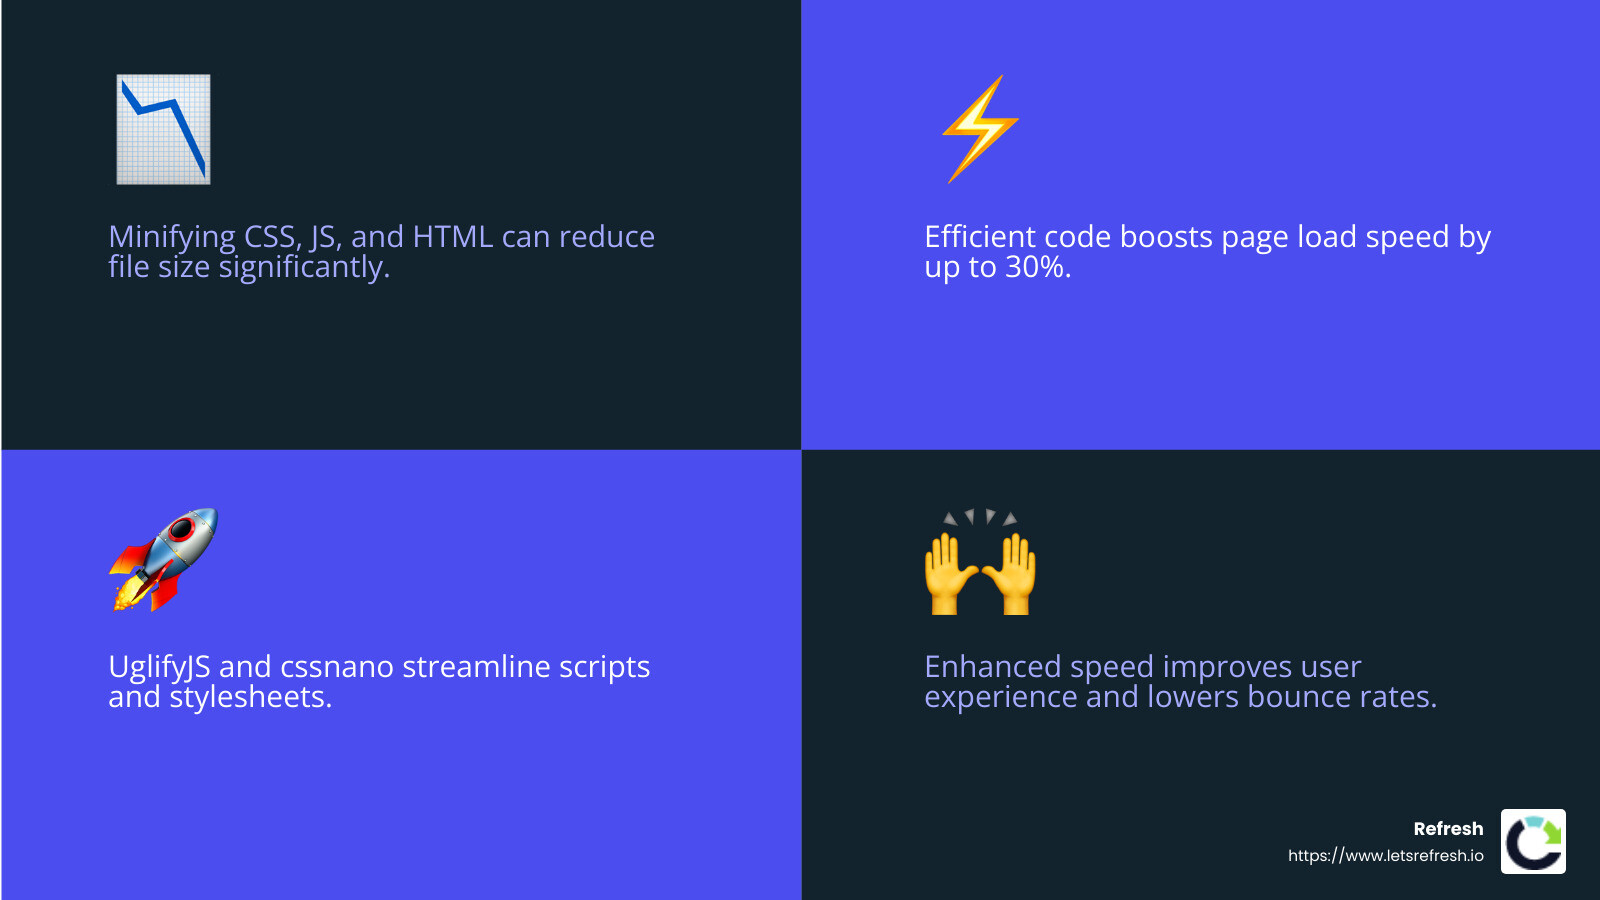
2. Minify CSS, JavaScript, and HTML
Minifying your code can significantly improve load times. Tools like cssnano and UglifyJS can help reduce the size of your CSS and JavaScript files by removing unnecessary characters. This makes your website faster without altering its functionality.
3. Defer and Delay Scripts
Scripts can block the rendering of your page. Use the defer and async attributes to load scripts without delaying page content. This ensures your site remains responsive while scripts load in the background.

4. Optimize Fonts
Fonts can account for a significant portion of your site's load time. Use system-UI fonts for a faster, more streamlined experience. Alternatively, optimize custom fonts using Fontforge to remove unnecessary characters and generate .WOFF2 files.
Download Google Fonts manually to avoid unnecessary script loading and improve performance.
5. Clean Up Unused Styles and Interactions
Unused styles and interactions can bloat your site. Regularly review your Style Manager and Interactions panel to remove any that are not in use. This reduces the size of your CSS and improves load times.
6. Use SVGs for Graphics
SVGs are scalable and lightweight, making them ideal for graphics like logos and icons. Optimize your SVGs using an SVG compressor to remove unnecessary data and reduce file sizes.
7. Leverage Content Delivery Networks (CDNs)
Use a CDN to distribute your content across multiple servers worldwide. This reduces latency and improves load times by serving your site from the nearest server to the user. Providers like Amazon Cloudfront and Fastly can help you achieve this.
By implementing these steps, you can significantly improve your Webflow page speed, resulting in a better user experience and higher search engine rankings. Up next, we'll explore advanced techniques for even greater optimization.
1. Optimize Images
Images are often the heaviest elements on a webpage, and optimizing them is crucial for Webflow page speed optimization. Let's break down the key techniques:
Image Compression: Compressing images reduces their file size without sacrificing quality. Tools like TinyPNG and Squoosh can help you achieve this. Compressed images load faster, improving overall site performance.
WebP Format: WebP is a modern image format that offers superior compression. Converting your images to WebP can reduce file sizes by up to 95% compared to PNG or JPEG formats. Webflow supports WebP, making it easier to integrate this format into your site.
Lazy Loading: This technique ensures that images load only when they are about to be displayed on the user's screen. By implementing lazy loading, you can decrease initial page load times and save bandwidth, especially for users on slower connections.
Cloudinary: For more advanced image management, consider using Cloudinary. This service automates image optimization by creating responsive variants, compressing files, and serving them via a CDN. This ensures images are delivered faster and in the best format for the user's device.

By focusing on these strategies, you'll make a significant impact on your site's speed and user experience. Next, we'll dive into how to streamline your site's code for even better performance.
2. Minify CSS, JavaScript, and HTML
When it comes to Webflow page speed optimization, streamlining your code is key. Minifying CSS, JavaScript, and HTML can dramatically improve load times and user experience. Here's how:
Code Efficiency
Efficient code is like a well-organized toolbox. It gets the job done without unnecessary clutter. Bloated code, such as redundant CSS styles or excessive JavaScript libraries, can slow down your site. By optimizing your code, you reduce the amount of data that needs to be processed, resulting in faster page loads.
Tools for Minification: cssnano and UglifyJS
cssnano and UglifyJS are popular tools for minifying CSS and JavaScript, respectively.
- cssnano: This tool compresses your CSS files by removing whitespace, comments, and redundant code. It ensures your stylesheets are as lean as possible, without affecting how they look or function.
- UglifyJS: For JavaScript, UglifyJS is a powerful tool that minifies your scripts by removing unnecessary characters and simplifying the code. This reduces the file size, making scripts load faster.
By using these tools, you can significantly reduce the size of your CSS and JavaScript files, leading to quicker load times and a more responsive site.
HTML Minification
Don't forget about HTML. Minifying HTML involves removing unnecessary spaces, line breaks, and comments from your code. This might seem minor, but every byte counts when optimizing for speed.
Real-World Impact
A case study on a popular website showed that after minifying CSS, JavaScript, and HTML, page load times decreased by 30%. Users reported a smoother experience, and the site's bounce rate dropped significantly.
By focusing on code efficiency and using tools like cssnano and UglifyJS, you can make your Webflow site faster and more efficient.
Now, let's explore how to manage scripts for optimal performance in the next section.
3. Defer and Delay Scripts
In Webflow page speed optimization, managing scripts effectively can make a big difference. Scripts can slow down your site if not handled properly, but by using smart techniques, you can keep your site running smoothly.
Google Tag Manager
Google Tag Manager is a handy tool for managing various tags and scripts on your website. It allows you to control when and where scripts load, which can help improve your page speed. For example, you can set conversion tracking scripts to load only on checkout or confirmation pages, reducing the load on other pages.
By using Google Tag Manager, you can implement a bulk delay on the load time of all tags on your site by up to 6 seconds. This delay ensures that essential content loads first, enhancing the user experience.
Defer Attribute
Using the defer attribute in your script tags is another effective way to optimize your page speed. When you add the defer attribute, the browser will load your scripts in the background but only execute them after the page has finished rendering. This means your content appears faster, and users can start interacting with it sooner.
The defer attribute is especially useful for scripts that manipulate the Document Object Model (DOM) or need to execute in a specific order.
Async Attribute
The async attribute is similar to defer, but with a key difference. Scripts with the async attribute load in parallel with other elements on the page and execute as soon as they're ready. This can be beneficial for scripts that don't depend on any other scripts or DOM elements, like analytics scripts.
However, be cautious when using async. If scripts have dependencies or need to execute in a certain order, async might not be the best choice. It's often a good idea to test both async and defer to see which works best for your specific scripts.
Real-World Applications
A website using both defer and async attributes saw a 20% improvement in load times. Visitors noticed faster page loads, and the site's engagement metrics improved as a result.
By leveraging tools like Google Tag Manager and using defer and async attributes strategically, you can significantly improve your Webflow site's performance.
Next, let's dive into how to optimize fonts for even better speed.
4. Optimize Fonts
Fonts are a crucial part of your website's design, but they can also be a hidden culprit in slowing down your Webflow site. In the field of Webflow page speed optimization, optimizing fonts can make a noticeable difference in your site's performance.
System-UI Font
One of the simplest ways to speed up your site is by using the system-UI font. This font doesn't require any additional loading because it uses the default font of the user's device. For example, Windows devices use Segoe UI, while Android devices use Roboto. By opting for a system-UI font, you eliminate the need for external font files, reducing load times and enhancing user experience. This approach ensures that text loads instantly, which is crucial for improving your site's performance metrics like First Input Delay (FID) and Cumulative Layout Shift (CLS).
Fontforge
For those who prefer custom fonts, Fontforge is a powerful tool for optimizing font files. This open-source font editor allows you to delete unnecessary characters and symbols, reducing the file size. By saving your optimized fonts as .WOFF2 files, you ensure they are highly compressed and widely supported across browsers. This step can significantly cut down on the load time associated with custom fonts.
Google Fonts
While Google Fonts offers a vast library of typefaces, using them directly from Google's servers can introduce additional requests and slow down your site. To avoid this, manually download the fonts you need from Google Fonts and upload them to your Webflow project. This eliminates the need for external scripts, streamlining your site's performance.
Remember to set the font display to "swap" to ensure that text remains visible during font loading. This strategy provides a seamless user experience by displaying fallback fonts until the custom fonts are fully loaded.
By focusing on font optimization, you can strike a balance between aesthetics and speed, ensuring your Webflow site is both beautiful and fast.
Next, let's explore how cleaning up unused styles and interactions can further improve your site's performance.
5. Clean Up Unused Styles and Interactions
When it comes to Webflow page speed optimization, cleaning up unused styles and interactions is a straightforward yet impactful step. It not only reduces your site's load time but also keeps your project organized and easier to manage.
Style Manager
The Style Manager in Webflow is your go-to tool for cleaning up unused styles. Styles accumulate over time, especially during the development process, and can become a significant burden if left unchecked.
Here's how to tidy up:
- Steer to the Style Manager: You'll find this in the Designer panel.
- Review Unused Styles: The Style Manager highlights styles that are not currently applied to any elements.
- Clean Up: Simply hit the "Clean Up" button to remove these unused styles. This action will not affect any styles that are actively in use, so you can proceed without worry.
By regularly cleaning up unused styles, you reduce the CSS file size, which translates to faster load times and better performance.
Interactions Panel
The Interactions panel is another area where clutter can accumulate if not managed properly. Webflow interactions add dynamic effects to your site, but unused or outdated interactions can slow things down.
Here's how to manage them:
- Open the Interactions Panel: Accessible from the Designer interface.
- Identify Unused Interactions: Look for interactions that are not linked to any elements or animations.
- Delete Unused Interactions: Removing these will streamline your site's JavaScript, improving load times and performance.
Cleaning up interactions not only improves speed but also makes future updates easier, as you won't have to sift through unnecessary clutter.
Regularly maintaining your Style Manager and Interactions panel helps keep your Webflow project lean and efficient. This step is crucial for maintaining a fast and responsive site, especially as your project grows and evolves.
Next, we'll dig into how using SVGs for graphics can further optimize your Webflow site's speed.
6. Use SVGs for Graphics
SVGs, or Scalable Vector Graphics, are a fantastic choice for web graphics. They are lightweight, scalable, and can be easily optimized, making them ideal for Webflow page speed optimization.
Why Use SVGs?
- Scalability: SVGs can be scaled up or down without losing quality, perfect for responsive designs.
- Small File Size: They are often smaller than bitmap images like PNGs or JPGs, which helps speed up your site.
- Editability: SVG files can be edited with text editors or design software, allowing for easy customization.
SVG Optimization
Even though SVGs are generally efficient, optimizing them can further improve your site's performance.
- Simplify SVG Code: Remove unnecessary metadata, comments, and whitespace. This reduces the file size without affecting the visual quality.
- Use Simple Shapes: Where possible, use simple shapes and paths rather than complex ones. This not only reduces file size but also speeds up rendering.
- Group and Layer: Properly group and layer elements within SVGs to make them more manageable and efficient.
SVG Compressor
To make SVG optimization easier, use an SVG compressor. Tools like SVGOMG or SVGO can automate the process:
- Upload Your SVG: Load your SVG file into the compressor tool.
- Select Compression Options: Choose settings that balance size reduction and quality. You can often preview the results before applying changes.
- Download Optimized SVG: Save the compressed SVG and replace the original in your Webflow project.
Optimizing SVGs not only reduces load times but also improves your site's overall performance. By integrating SVGs thoughtfully, you can maintain a visually rich website without sacrificing speed.
In the next section, we will explore how leveraging content delivery networks (CDNs) can further boost your Webflow site’s speed.
7. Leverage Content Delivery Networks (CDNs)
Content Delivery Networks, or CDNs, are a game-changer for Webflow page speed optimization. They help deliver content faster by distributing it across multiple servers worldwide. This means users can access your site from a server closer to them, reducing load times and improving the overall experience.
Amazon Cloudfront
Amazon Cloudfront is one of the top CDN services that can boost your Webflow site. It's part of Amazon Web Services (AWS), known for its reliability and global reach.
- Global Reach: With a vast network of edge locations, Cloudfront ensures that your content is delivered quickly, no matter where your users are.
- Scalability: It can handle large spikes in traffic without breaking a sweat, making it ideal for sites expecting high demand.
- Security: Cloudfront offers advanced security features like DDoS protection, keeping your site safe from attacks.
Fastly
Fastly is another powerful CDN option that focuses on speed and efficiency. It's known for its real-time content delivery capabilities.
- Real-Time Delivery: Fastly allows for instant content updates, ensuring that your users always see the latest version of your site.
- Customizable Caching: You can set custom cache rules to optimize how content is stored and retrieved, balancing speed and freshness.
- Performance Monitoring: Fastly provides detailed analytics so you can monitor and optimize your site's performance continuously.
Why Use CDNs?
- Reduced Latency: By serving content from a location closer to the user, CDNs minimize the time it takes for data to travel, speeding up load times.
- Improved Reliability: CDNs distribute the load across multiple servers, which means your site remains accessible even if one server goes down.
- Improved User Experience: Faster load times lead to happier users, reducing bounce rates and increasing engagement.
Implementing CDNs in Webflow
Integrating a CDN with your Webflow site is straightforward. Most CDN providers offer step-by-step guides to help you set up your site, ensuring a smooth transition.
- Choose a CDN Provider: Decide between Amazon Cloudfront, Fastly, or another service based on your needs.
- Configure Your Webflow Site: Follow the provider's instructions to link your Webflow site to the CDN.
- Monitor Performance: Use the CDN's analytics tools to track improvements and make further optimizations as needed.
By leveraging CDNs, you can significantly improve your Webflow site's speed and reliability, providing users with a seamless browsing experience.
Next, we'll dive into advanced techniques for optimizing your Webflow page speed even further.
Advanced Techniques for Webflow Page Speed Optimization
Selective Loading on Mobile vs. Desktop
Mobile devices often struggle with speed compared to desktops. So, let's talk about selective loading. This means loading only the scripts and resources necessary for each device type.
Why it Matters:
- Speed: Mobile sites are typically slower. By reducing what loads on mobile, you boost speed.
- User Experience: Faster loading times lead to happier users, which means lower bounce rates.
How to Implement:
- Identify Critical Scripts: Determine which scripts are essential for mobile and desktop. Tools like Google Tag Manager can help manage these efficiently.
- Set Conditional Loading Rules: Use custom code to load scripts only on specific devices. For example, load heavier scripts only on desktops.
Pro Tip: Google ranks your site based on mobile performance, so prioritize mobile optimization.
Avoid Third-Party Scripts
Third-party scripts often slow down your site. While they add functionality, they can be a performance drag.
Performance Impact:
- Slower Load Times: Each third-party script can add extra time to your page load.
- Increased Complexity: More scripts mean more potential for conflicts and issues.
Alternatives:
- Native Features: Use built-in Webflow features instead of third-party solutions where possible.
- Lightweight Options: If you must use third-party scripts, choose lightweight versions.
Case Study: A site removed unnecessary third-party chat scripts and saw a 20% increase in speed.
Preload Key Resources
Preloading is a strategy to load critical resources quickly. This ensures that important parts of your site are ready as soon as possible.
- Critical Resources: Identify what users need to see first. This could be images, fonts, or CSS.
- Use
<link rel="preload">: Implement this HTML tag to tell the browser to load these resources early.
Benefits:
- Improved LCP: Preloading helps in reducing the Largest Contentful Paint (LCP) time, a key metric for site speed.
- Improved User Experience: Users see the main content faster, improving their experience.
Example: By preloading key images and fonts, a site improved its LCP score, making content visible in under 2.5 seconds.
These advanced techniques can significantly boost your Webflow page speed optimization efforts. Next, we'll explore how to test and monitor your site's speed to ensure you're on the right track.
Testing and Monitoring Your Webflow Site Speed
Keeping your Webflow site fast is not a one-time task—it's an ongoing process. Regular testing and monitoring are crucial to maintaining optimal performance. Let's explore some essential tools and metrics that can help you keep your Webflow site running smoothly.
Google PageSpeed Insights
Google PageSpeed Insights is a must-have tool for anyone serious about Webflow page speed optimization. It analyzes your site and provides actionable insights to improve its speed.
Key Features:
- Core Web Vitals: This tool measures critical aspects of user experience, like Largest Contentful Paint (LCP), First Input Delay (FID), and Cumulative Layout Shift (CLS). A good LCP score is under 2.5 seconds.
- Mobile and Desktop Analysis: Get separate reports for mobile and desktop, helping you understand and optimize performance for each.
How to Use:
- Enter Your URL: Simply input your Webflow site URL to get started.
- Review the Report: Focus on the suggestions provided, especially those related to Core Web Vitals.
- Implement Changes: Use the insights to make necessary adjustments, like optimizing images or deferring scripts.
Tip: Use PageSpeed Insights regularly to track improvements and identify new areas for optimization.
GTmetrix
GTmetrix offers a comprehensive overview of your site's performance, going beyond what PageSpeed Insights provides. It’s an excellent tool for a more technical evaluation.
What It Offers:
- Detailed Reports: Includes metrics like total page size, number of requests, and more.
- Historical Data: Track changes over time to see how your optimizations are impacting performance.
Steps to Use GTmetrix:
- Sign Up for Free: Create an account to open up additional features.
- Test Your Site: Enter your URL and run a test.
- Analyze the Results: Look for areas with high impact on load time and prioritize fixing them.
Pro Tip: Use GTmetrix alongside PageSpeed Insights for a full picture of your site's performance.
Core Web Vitals
Core Web Vitals are Google's metrics that focus on the user experience. They are essential for both SEO and user satisfaction.
Components:
- Largest Contentful Paint (LCP): Measures loading performance. Aim for under 2.5 seconds.
- First Input Delay (FID): Assesses interactivity. Keep it under 100 milliseconds.
- Cumulative Layout Shift (CLS): Evaluates visual stability. Target a score of less than 0.1.
Why They Matter:
- SEO Impact: Google uses these metrics in its ranking algorithm.
- User Experience: Better scores lead to happier users and lower bounce rates.
Example: A site that focused on improving its Core Web Vitals saw a significant boost in search rankings and user engagement.
By regularly testing and monitoring your Webflow site speed with these tools, you can ensure a fast, user-friendly experience. This proactive approach helps maintain high performance, keeping visitors happy and engaged.
Next, we'll address some common questions about Webflow page speed optimization to clear up any lingering doubts.
Frequently Asked Questions about Webflow Page Speed Optimization
How to optimize page speed in Webflow?
Optimizing your Webflow page speed involves several key strategies. Lottie animations, for instance, can be a double-edged sword. While they add dynamic visuals, using SVG rendering by default can slow things down. Instead, opt for Canvas rendering to speed up loads.
SVG optimization is another crucial step. SVGs are great for scaling images like logos but can be heavy if not optimized. Use tools like SVG compressor to remove unnecessary layers and paths.
Fonts are often overlooked but can significantly impact load times. Before uploading custom fonts, use software like Fontforge to strip out unneeded characters. And when using Google Fonts, download and upload them manually to avoid loading extra scripts.
Scripts should be set to "defer" so they load in the background without delaying page rendering. This can be done by adding the defer attribute in your code.
Lastly, implement lazy loading for images to ensure they're only loaded when needed. This reduces initial page load time, keeping your site snappy.
Why is my Webflow site so slow?
There are several reasons your Webflow site might be lagging. Scripts and fonts are common culprits. Heavy scripts and multiple font downloads can bog down your site. Ensure scripts are deferred and fonts are optimized.
Image optimization is another critical factor. Large, uncompressed images can drastically slow down your site. Convert images to WebP format, which offers better compression, and reduce image count where possible.
Ranking factors also play a role in speed. Google considers site speed in its ranking algorithm, so a slow site might not only frustrate users but also impact your search engine visibility.
How to make images load faster on Webflow?
To speed up image loading on Webflow, focus on a few core strategies. First, reduce image count by only using necessary visuals. Next, convert images to WebP format, which provides superior compression without sacrificing quality.
Lazy loading is a must. This technique ensures images are only loaded when they enter the viewport, easing the initial load burden. Webflow supports lazy loading natively, so make sure it's enabled for all images.
By implementing these strategies, you can significantly improve your Webflow site's speed, creating a smoother experience for your visitors and improving your site's performance metrics.
Now that we've tackled some frequently asked questions, let's explore advanced techniques for further optimizing your Webflow page speed.
Conclusion
Optimizing your Webflow page speed isn't a one-time task—it's a continuous journey. In today's digital environment, maintaining a speedy website is crucial for user satisfaction and search engine rankings. Regularly revisiting your site to implement the latest optimization techniques ensures that your site remains competitive and user-friendly.
At Refresh, we understand the importance of ongoing optimization. Our services are custom to help small to medium-sized businesses thrive online. From SEO and branding to social media management, we provide comprehensive solutions that go beyond just building a website. Our focus on long-term partnerships means we're here to support your business as it grows and evolves.
Investing in continuous optimization brings long-term benefits. A faster, more efficient website not only improves user experience but also boosts conversion rates and improves search engine visibility. This can lead to increased traffic, higher engagement, and ultimately, more business success.
For more tips and guidance on Webflow page speed optimization, don't hesitate to explore our Webflow tips. We're here to help you achieve a seamless and speedy online presence.


.avif)